This blog was written before Pardot was renamed to Marketing Cloud Account Engagement. You can read more about the name change and what it means here.
In previous blogs, we’ve run through the main capabilities and setup steps for Pardot’s new Drag-and-Drop Email Builder. Recently, I was invited to co-host a webinar with Pardot specialists so users can see first-hand how the feature works.
As part of this webinar, I delivered a live demo and the video recording is at the bottom of the blog for you.
If you have been experiencing any issues with using the Email Builder, this video will provide you with a brief summary on prerequisites, as well as some tips and best practices!
The webinar was hosted by members of the Pardot Success team, Jessica Marsh and Una Kelley, alongside myself - Tom Ryan, Managing Director of MarCloud Consulting.
Using the Pardot Lightning Email Builder:
Pardot Lightning Email Builder considerations
Before we start, we need to ensure that the following steps are enabled, these are prerequisites required for the new Email Builder to work:
- Pardot Lightning app
- Verified Salesforce Pardot Connector (V1 or V2)
- Connected Users
- Enable Handlebar Merge Language (HML)
- Connected Campaigns is enabled
- For the domain setup, ensure you select the https option supported by your Salesforce CDN
If you need any help with setting up any of these prerequisites, please get in touch with our team at MarCloud Consulting.
Setup summary
- Create a Salesforce CMS Workspace.
- Create a Salesforce CMS channel and add contributors.
- Create and assign use CMS with Email Templates and Email Content’ permission set.
- Add Email Content’ and Email Templates’ tab.
Our pro tips:
- Confirm user profiles have access to Email Content’ and Email Template’ tabs
- Review Salesforce folder setup
Feature highlights
The following text is a summarised transcript of my intro during the webinar video, during which I ran over the main highlights of the new Pardot Email Builder.
Keep scrolling to watch the entire video below, or you can skip to 13:45 to just watch the demo.
The Canvas
What you'll notice from the demo, is that we have a number of components on the left-hand side.
We can use buttons, images, HTML, text etc. We can play around with the background colours. We can even add a background image URL and this ties nicely in with this CMS.

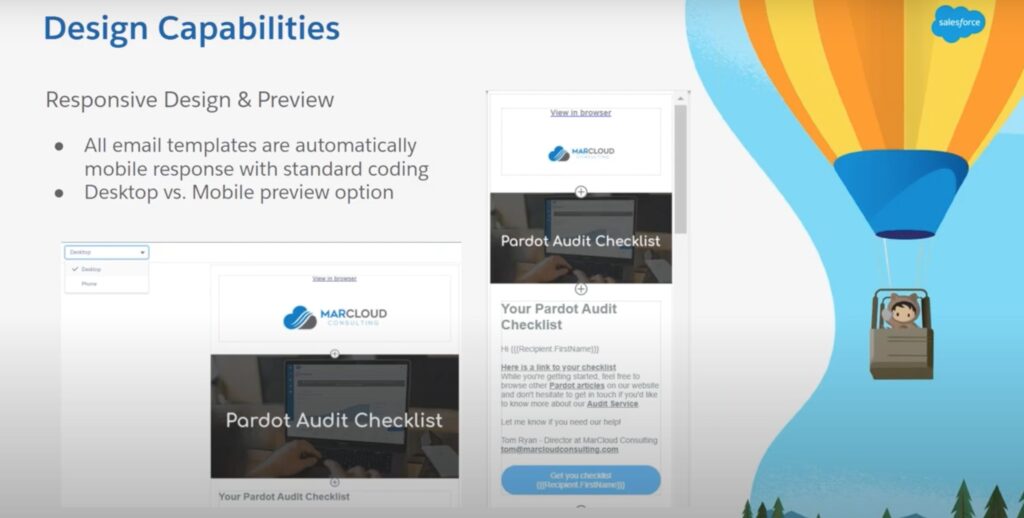
Design capabilities
The tool itself is very easy to flick between the desktop version and mobile, so you can actually see how the image will look on a mobile device.
This means you can account for those different devices, especially when it comes to adding images, it becomes a lot easier to shape and reshape the size of the particular image.
Buttons
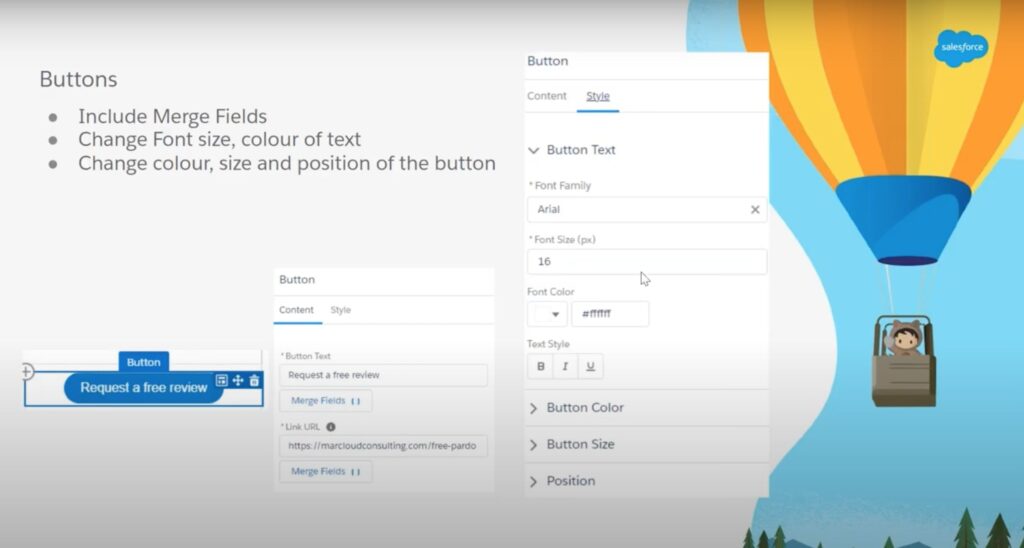
A highly anticipated feature is the buttons. Now, I'm sure all Pardot users are fully aware of how difficult it might be to use buttons in the current editor. But, now it's so much easier!
You can even change the colours of the merged fields.
You can also curve the buttons, although just be aware that it doesn't necessarily mean it's going to work in Outlook with the curved buttons. Just be mindful of that. But the tool itself allows you to be fully flexible with buttons.
HTML component
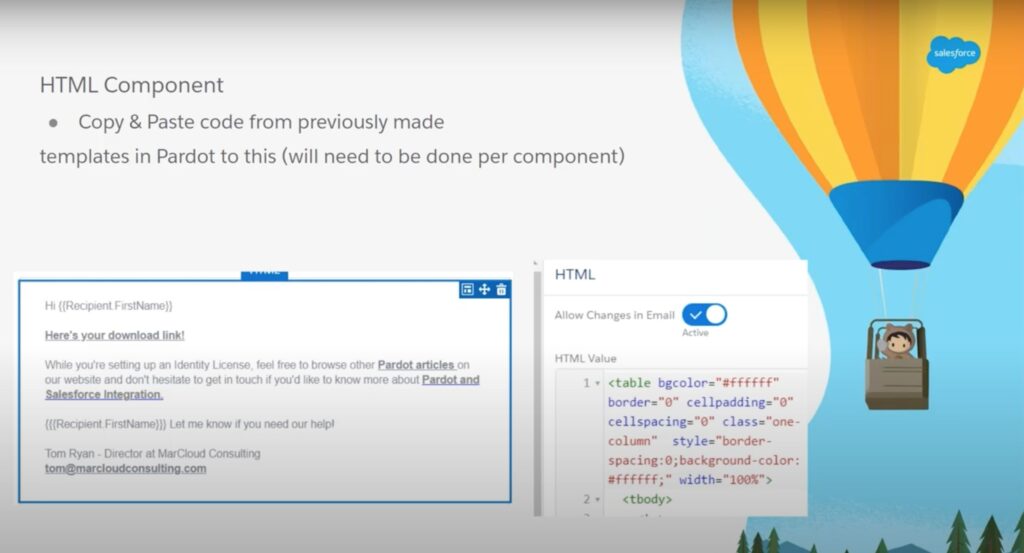
Let’s say we've got an email and if, for whatever reason, you have a piece of code from the development team or even just a piece of an email that you've previously set up and you want to bring it across into the new template, and we can do that in our HTML section.
Lock-specific components
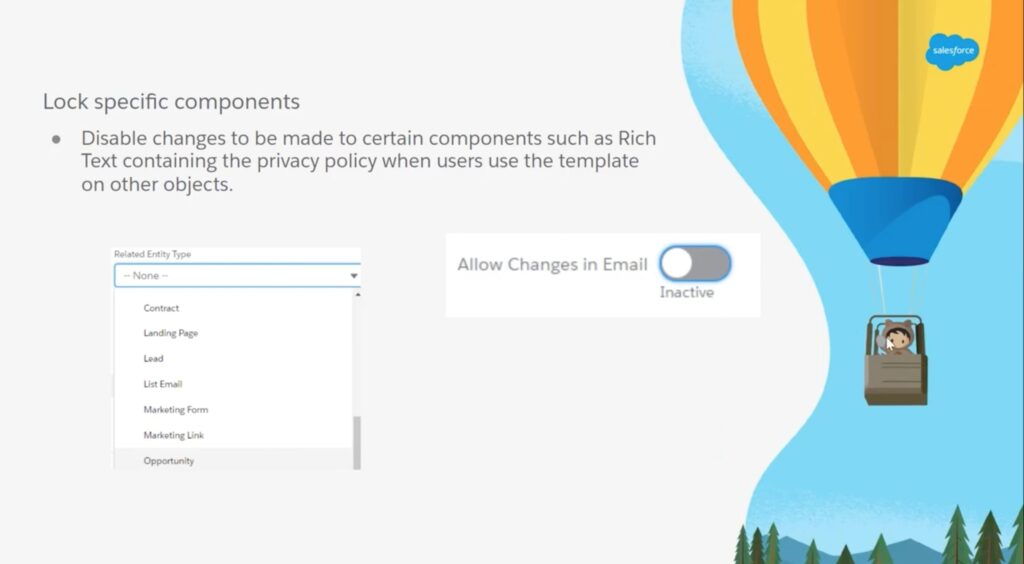
We can link the templates that we build to a related entity type, and by that we mean a Salesforce object, so we can create an email and link it to an Opportunity. This will dictate the type of merge files that are available on the template. In addition to this, we can make sure that certain sections are editable and not editable.
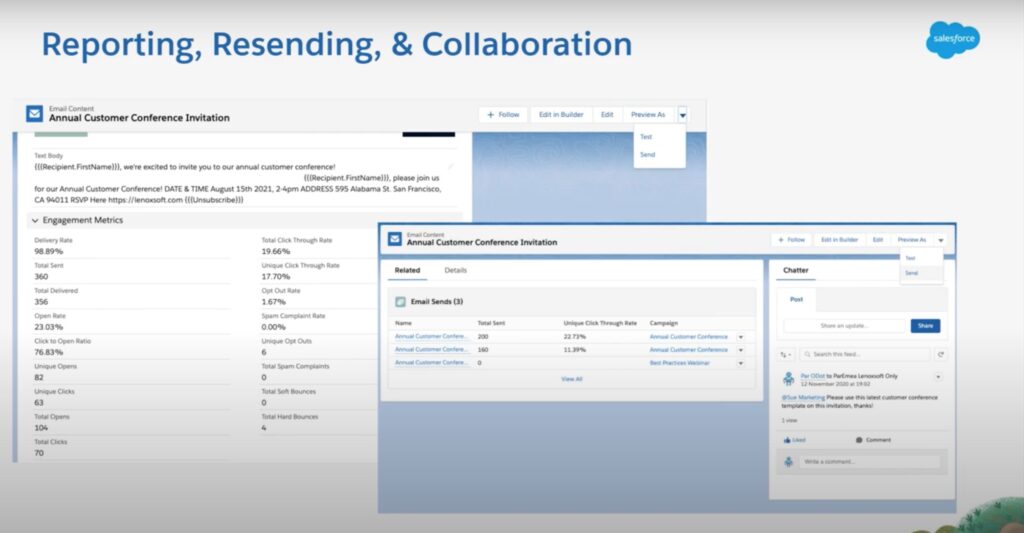
Reporting, resending and collaboration
Lastly, we've got the reporting, resending and collaboration tools. On the left-hand side, you'll see engagement metrics. This is the rolling up of all the statistics of a particular group of email sends. That's an important note because you can actually send and resend these emails and see a line item of each one and its performance.
Then on the right-hand side, we've got chatter so we can talk. People can talk about reports and emails, and it's a really nice touch!
Webinar video including the live demo
With all the main features outlined, let’s go over a live demo together.
Here I have provided the full webinar video, however, if you would like to skip right to the start of the demo section, skip to 13:45 on the time bar. In the demo I run through everything, from start to finish so that you can follow along while doing it yourself.
If you have any questions about using the Pardot email builder, or something else Salesforce or Pardot-related, get in touch for a chat about our support and consulting options.

